 |
| This is a card that can easily be adapted for Christmas |
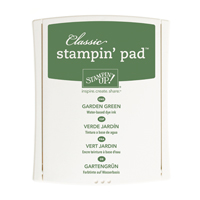
I brayered the inside of the embossing folder with Smoky Slate ink at the top and from the bottom with Garden Green ink. I then used Memento Black ink to stamp the image of the stag. I carefully placed a 5.5" square of Whisper White cardstock into the embossing folder and ran it through the Big Shot.
I used an Aquapainter and some Cajun Craze ink to add some ground for the stag and used some Tip Top Taupe and Soft Suede ink with the Aquapainter on the stag. I kept the colouring light on the stag for an almost ethereal look.
I then worked on shadows and highlights on the stag with a Chalk Marker along with Crumb Cake and Soft Suede Stampin' Write markers. I found I could dab the chalk in areas to highlight and then smudge it with a finger.
 |
| The banner at the top of the card is three dimensional |
To dress the top of the card, I cut some Pear Pizzazz and Garden Green cardstock with some of the Pretty Pines Thinlits dies.
The greeting is from the Guy Greetings stamp set and I cut it out with the 3D banner from the Cupcake Cutouts Framelits. On a piece of Basic Gray cardstock, I drew around the outside edge of the framelit with a pencil then cut around the pencil lines to create a mat for the banner. The extra layer of cardstock did make it more difficult to shape the banner, so I kept it simple and just placed glue dots on the ends and foam adhesive strips in the middle.
 |
| Some stamping inside the card creates a finished look |
I stamped a frond of Pine from the Christmas Pines stamp set inside the card using Garden Green ink.
Thank you for visiting!
'Til next time
Stephanie
Product List - To shop in my online store, click on one of the images below (Australian Residents only)


Wow Stephanie, I adore how this turned out. I too have seen this idea floating around the internet and wanted to try it. I love your version x
ReplyDeleteThanks, Kim! It was a good card for my husband because he loves moose - not quite the same as a stag but similar enough!
Delete